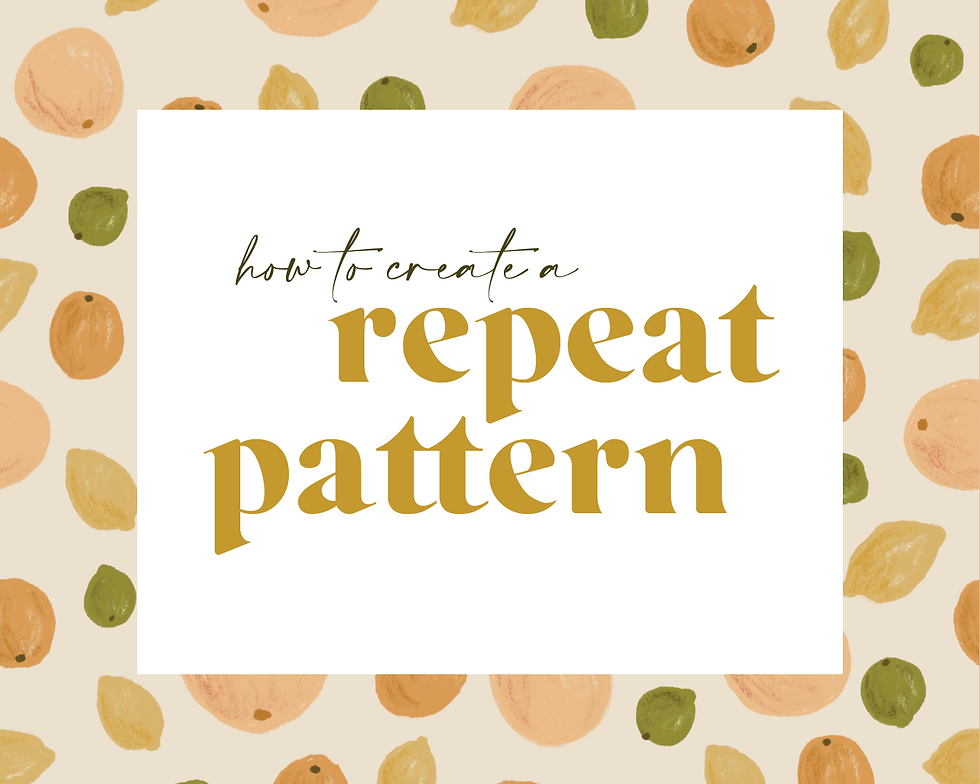
how to create a repeat pattern in Illustrator
- mugglehugstudio

- May 20, 2020
- 4 min read
Have hand-drawn elements or find some vectors you like? Why not up your collateral design and make them into a seamless pattern in Illustrator!

To start, make sure to open a square artboard of your desired size (I always make mine 1080x1080px). You can make a pattern with a rectangle, but a seamless or repeating pattern is easiest with a square so that it can line up on all sides.

Once you have your artboard ready, start messing around with the pattern you'd like. Mine are never super complex, overlaid parts, so this is fairly easy for me. You can try to use the pattern tool that Illustrator already has embedded (Object > Pattern > Make and then adjust the settings to you liking), but it will not make a fully repeating pattern and takes a bit of trial and error anyway. It is helpful to start out and visualize, though.

A tip for first time pattern creators: making repeating patterns is easiest if you have one element that you repeat evenly spaced over a canvas. If you are baffled, try starting with one element that you can work with over the whole artboard.
My patterns usually involve equal spacing and maybe some mirroring, which is all pretty easy to do manually. I start at the edges and start the "repeating" process. Choose an element that is overlapping the artboard and the margin—in other words, it exits the canvas mid-graphic. Anything crossing the margin lines needs to be repeated in the exact same place on the other side, so that when you line up two squares, the pattern is seamless (and there's the name). In the screenshot below, I have already repeated the top and bottom margins on the left side, so now I need to begin repeating on the right margin from what I've done on the left.

Once you have an element selected, hit Edit > Copy > Paste in Front. The shortcuts for this on a Mac are Control C to copy and Control F to paste in front. This makes a copy of the element and pastes it directly over the top of the old one. Once the copy is made, navigate to the X and Y panels on the Transform menu (mine is in my Properties toolbar, but it is also under the Window menu dropdown). X goes left and right, and Y goes up and down—just like math class that I swore I would never need to know, but here we are. These will give you the exact location in pixels (or whichever unit you are using) of your element.

Now we need to start repeating. If your element is crossing a the left margin, for example, type "+ 1080" (or whatever the size of your canvas) into the Y box. This will take the current location of your element and add 1080 pixels, so that when your square canvases line up, the element crossing the left margin will line up perfectly with the exact continuation of it on the right side. The ability to add and subtract from these menus is one of my top five skills I wish I would have known earlier about Illustrator. It is just so useful. Make sure that you repeat the top and bottom margins too, not just the right and left ones.

The repeating process will take awhile, and might be frustrating to make work. I use a lot of the Distribute Spacing tool (under the Align toolbar), which will evenly distribute elements that are selected without moving the two outside ones. This is perfect when you have your edges repeated but the middle is still empty. Add as many elements as you'd like to the center, and then distribute them evenly across the entire canvas.
You might have to mess around a lot with sizing, angles, and spacing in order to make a pattern that works and looks good. Return to the pattern tool if you need more help visualizing, but really, this is just a case of making your elements work to fit your canvas. If you are making a more random pattern rather than a uniform one, the repeating process might be easier.

After you have everything spaced well and you are happy with the result, it is time to adjust the colors to your liking and then putt a clipping mask over the artboard. My favorite way to do this is select the Rectangle Tool and type in the exact dimensions of the canvas, then center it to the artboard. That way, there are no random mismatches with your pattern seams after all your hard work (which has happened to me many times because I relied on the Snap To guides to, well, guide me, and they failed).
Create your clipping mask by selecting all of your elements, including your perfectly aligned rectangle, and then select Object > Clipping Mask > Make. This will trim the edges of your pattern and get rid of all the extra. Then, you can export your art however you would like! I usually export for screens and then choose PNG, as it has the highest clarity.

And there you have it: your own repeating pattern! Hopefully this tutorial was easy to follow and helped you create some cool patterns out of elements you've created or curated. Tag me in your patterns @mugglehugstudio on Instagram!


Comments